In January I added a little something we call "Incredible Equation" to our day. It is usually a time filler when you have that random extra 5 minutes here or there in your day or sometimes part of calendar time.
The little ones tell me equations that match the number for the date. For example, today, on February 20th, the number we used was 20.

In the beginning you really have to model it A LOT, but they get the hang of it quickly. If I were to start it earlier in the year I may just rotate through numbers 1-10 rather than adding the higher numbers, but now they impress me every single time with how well they can deal with the larger numbers!
Right now they are really into these types of equations: 20+100-100=20. One clever friend figured that thing out and now they all just think it is the best... and really, I think it is too!
 I like this because ALL the kids can participate. I have some throwing out equations without any hesitations and others who can't create their own but after they hear "9+1=10" they can tell me "1+9=10." I mean, this is the commutative property of addition, isn't it?
And as you can guess, after seeing "15-5=10" one little friend may try "5-15=10" and this leads to a great conversation and pretty soon they get it. Some years subtraction doesn't show up on the scene for a while, but that is all dictated by what the class is ready for.
Sometimes we add the tally marks and/or the tens frames to help them build equations. Sometimes we fill the paper up and sometimes time only allows for a few equations. Really it is up to the kids what goes on here. Oh, I do have one rule... and that is the good ol' "1+1+1+1+1+1 etc" can not be used on any numbers greater than 10, but on the 1-10 days it is almost always the first equation thrown out there.


Have you ever bought the packs of stickers (or punch outs) and you use the letters, but what do you use the numbers for? They just seem to accumulate over time...... well, that is why I use the stickers. Sometimes I just keep it simple too, though:

This is on a clip board on my calendar wall and each day I draw a name to take home the Incredible Equation from the day before. They love taking these home.

What are other time fillers and extra calendar pieces that you do?
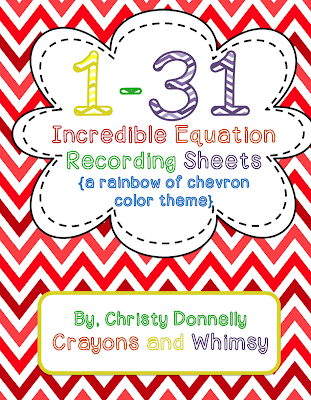
Update {August 2013} I have added an Incredible Equation Pack to my Teachers Pay Teachers Store... just in case you want to give this a try!
2
The little ones tell me equations that match the number for the date. For example, today, on February 20th, the number we used was 20.
In the beginning you really have to model it A LOT, but they get the hang of it quickly. If I were to start it earlier in the year I may just rotate through numbers 1-10 rather than adding the higher numbers, but now they impress me every single time with how well they can deal with the larger numbers!
Right now they are really into these types of equations: 20+100-100=20. One clever friend figured that thing out and now they all just think it is the best... and really, I think it is too!

And as you can guess, after seeing "15-5=10" one little friend may try "5-15=10" and this leads to a great conversation and pretty soon they get it. Some years subtraction doesn't show up on the scene for a while, but that is all dictated by what the class is ready for.
Sometimes we add the tally marks and/or the tens frames to help them build equations. Sometimes we fill the paper up and sometimes time only allows for a few equations. Really it is up to the kids what goes on here. Oh, I do have one rule... and that is the good ol' "1+1+1+1+1+1 etc" can not be used on any numbers greater than 10, but on the 1-10 days it is almost always the first equation thrown out there.

Have you ever bought the packs of stickers (or punch outs) and you use the letters, but what do you use the numbers for? They just seem to accumulate over time...... well, that is why I use the stickers. Sometimes I just keep it simple too, though:

This is on a clip board on my calendar wall and each day I draw a name to take home the Incredible Equation from the day before. They love taking these home.
What are other time fillers and extra calendar pieces that you do?
Update {August 2013} I have added an Incredible Equation Pack to my Teachers Pay Teachers Store... just in case you want to give this a try!