


This is a multi-step project - so you have to be patient.
Step 1- Tear wax paper in pieces for as large as you would like the hearts to be. I usually tear it to be 11 x18 inches (about the size of a large piece of construction paper)

Step 2- Cut tissue paper - you can do squares like in the picture above (more difficult) or strips (as shown below). I have done both, but prefer the strips because it is faster and they can practice patterning as well.

Step 3: Students "paint" the tissue paper on to the wax paper using liquid starch. Click {HERE} to see the kind that I use. I usually add a little water to it. Be careful: depending on the tissue paper brand the color could seep through onto your table. Put something underneath (even though my picture doesn't model this!) I put their names on small pieces of masking tape and stick it on the end of the wax paper.
Step 4: Wait for this to dry. Believe it or not it dries fast! Like super fast... you could almost do the next step later in the same day, but that could just be chaotic.
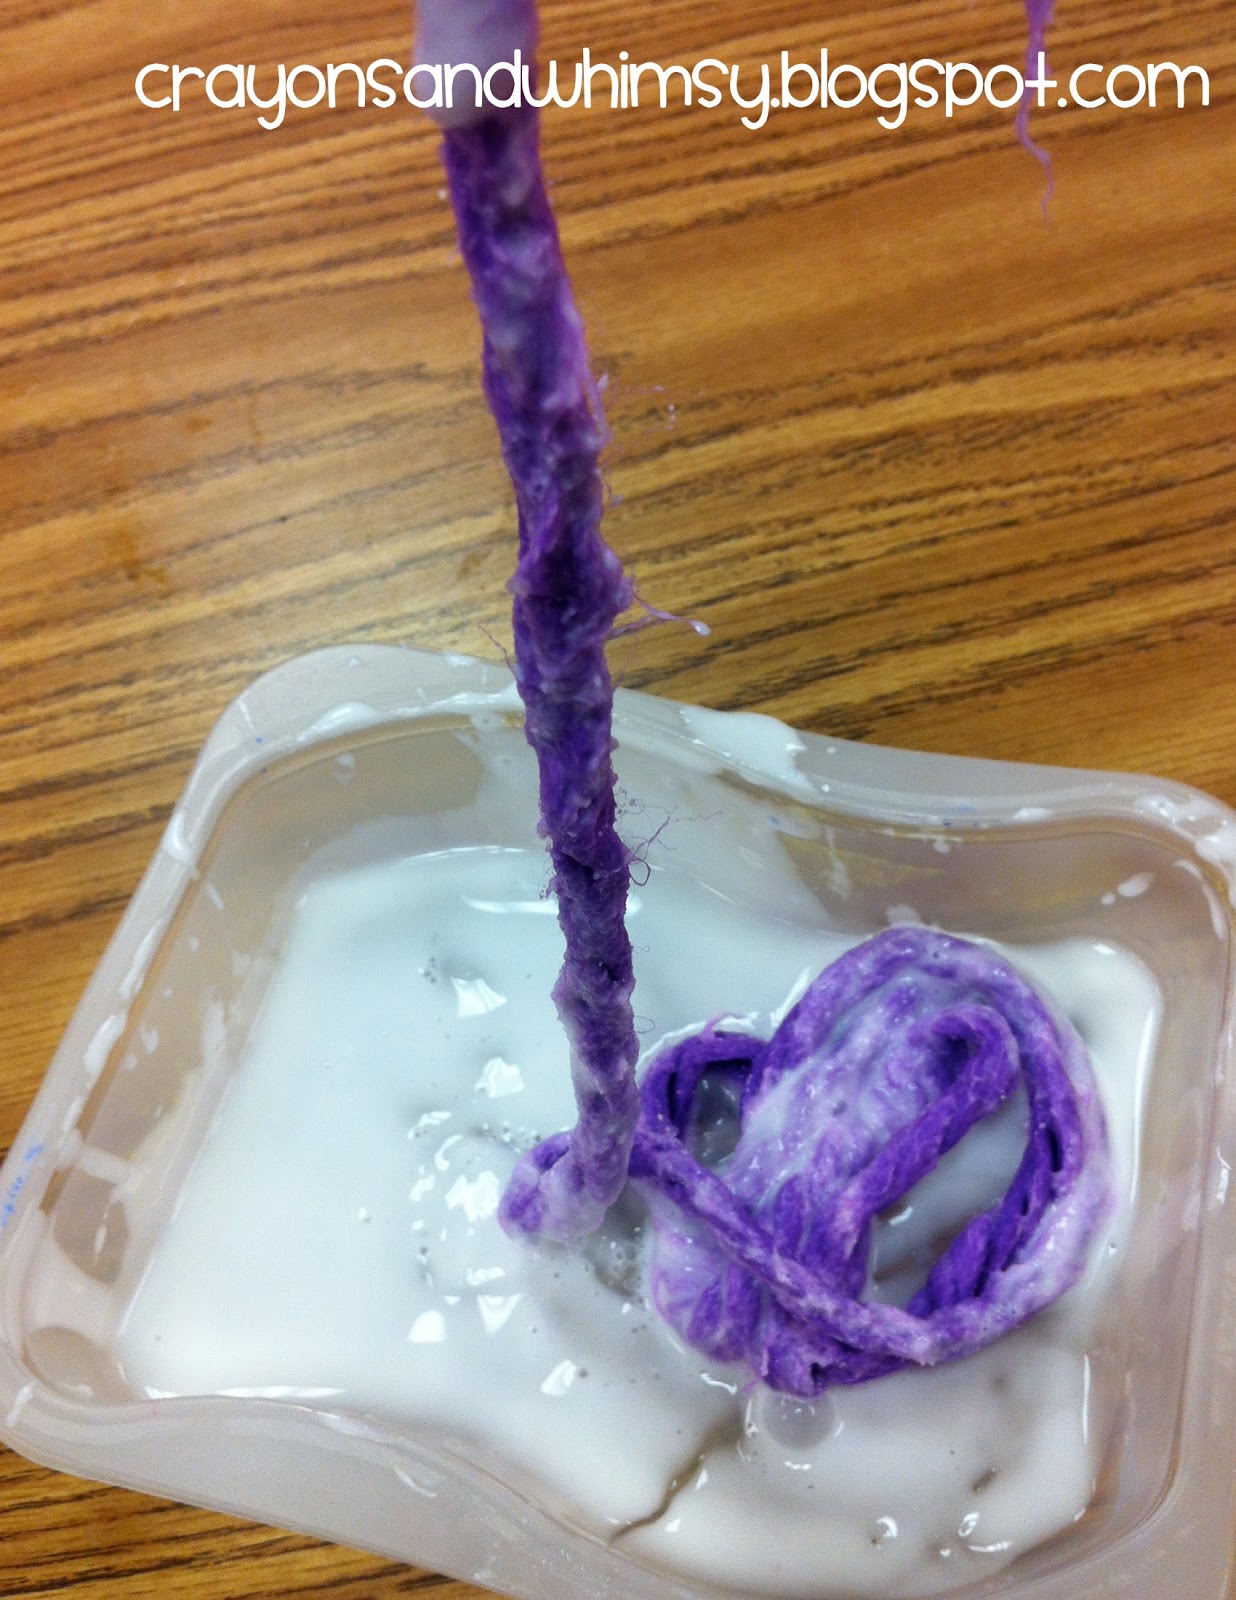
Step 4: Time to add yarn to make this a heart shape. This is when it gets messy and the kiddos love this... or they aren't too sure what to think. But most of them love getting messy. I suggest you pre cut the yarn. Then have them dunk it in the glue.
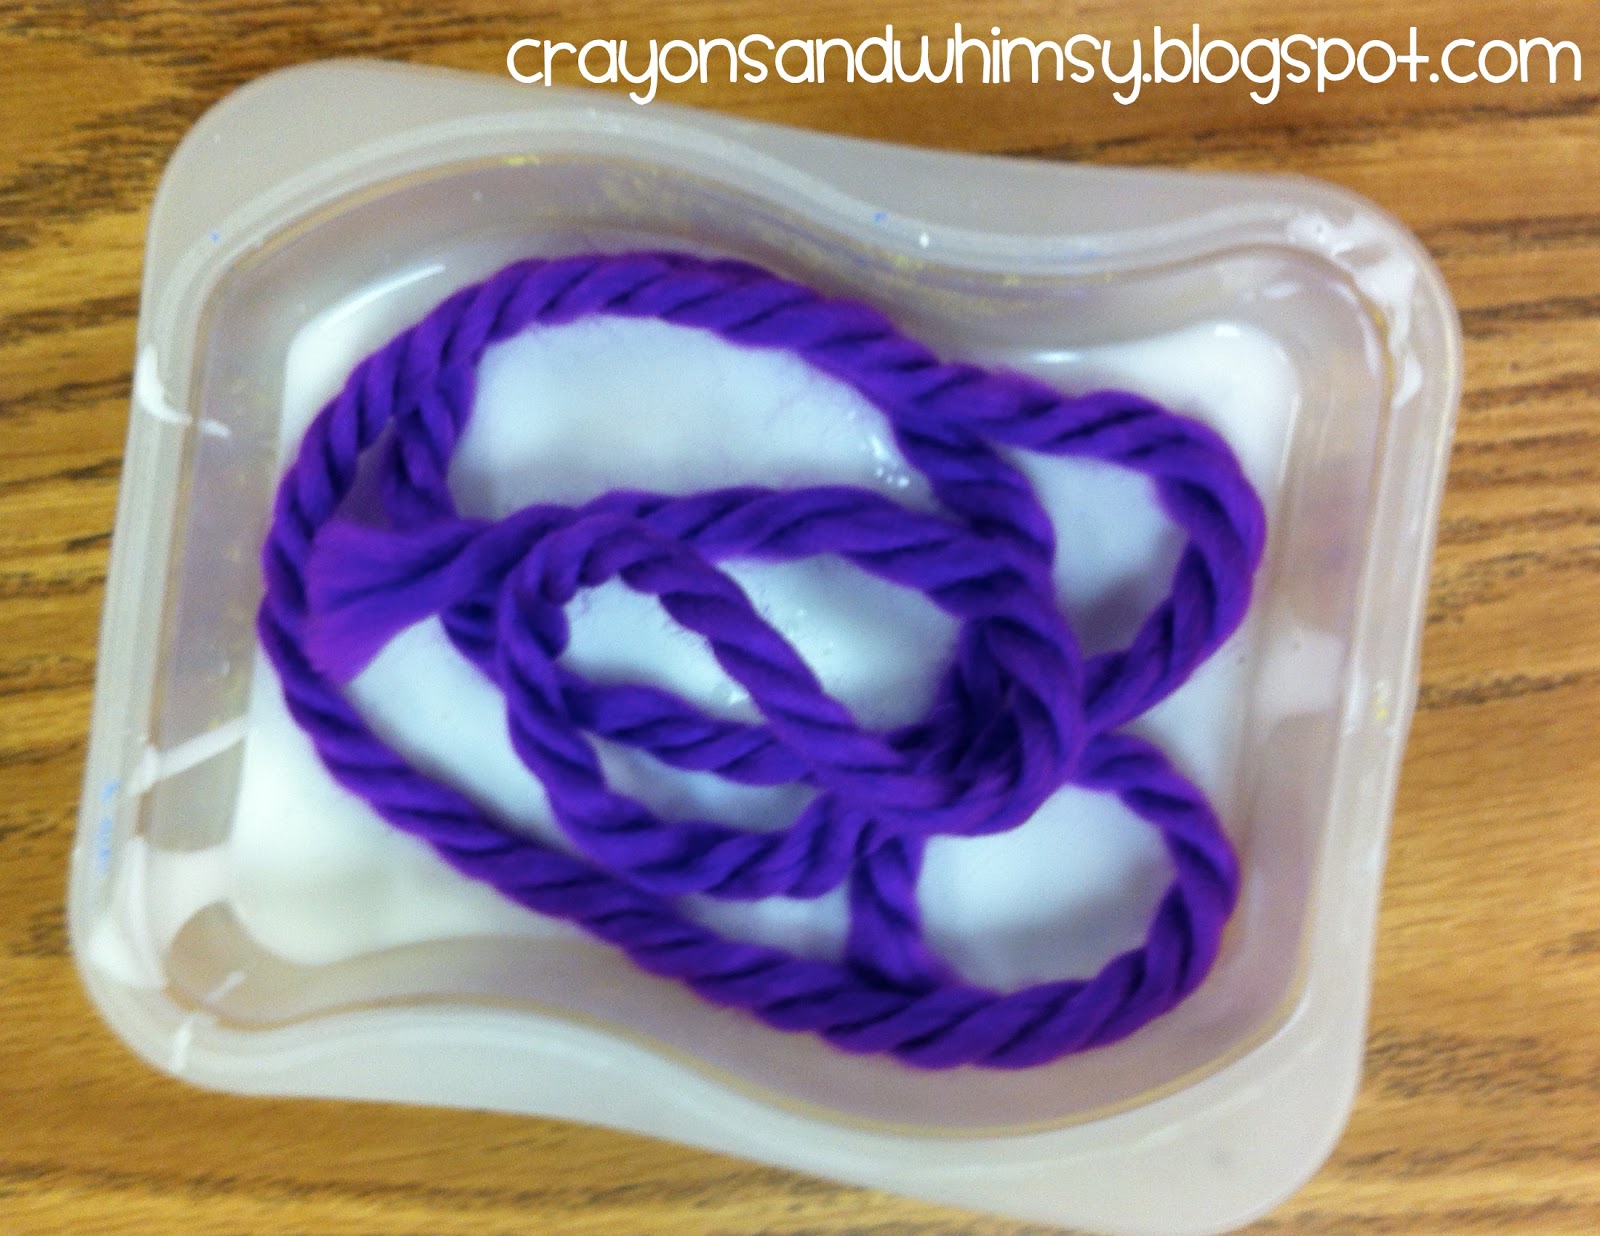
I tell them, "Get glue all over that piece of yarn!"
Step 5: Make the heart shape. If you are going to put some type of writing or drawing in the middle like me then you care about the size of the heart. I have this black heart stapled onto a white paper... not the prettiest thing... but it helps so the kids can have a guide to make their heart the correct size:
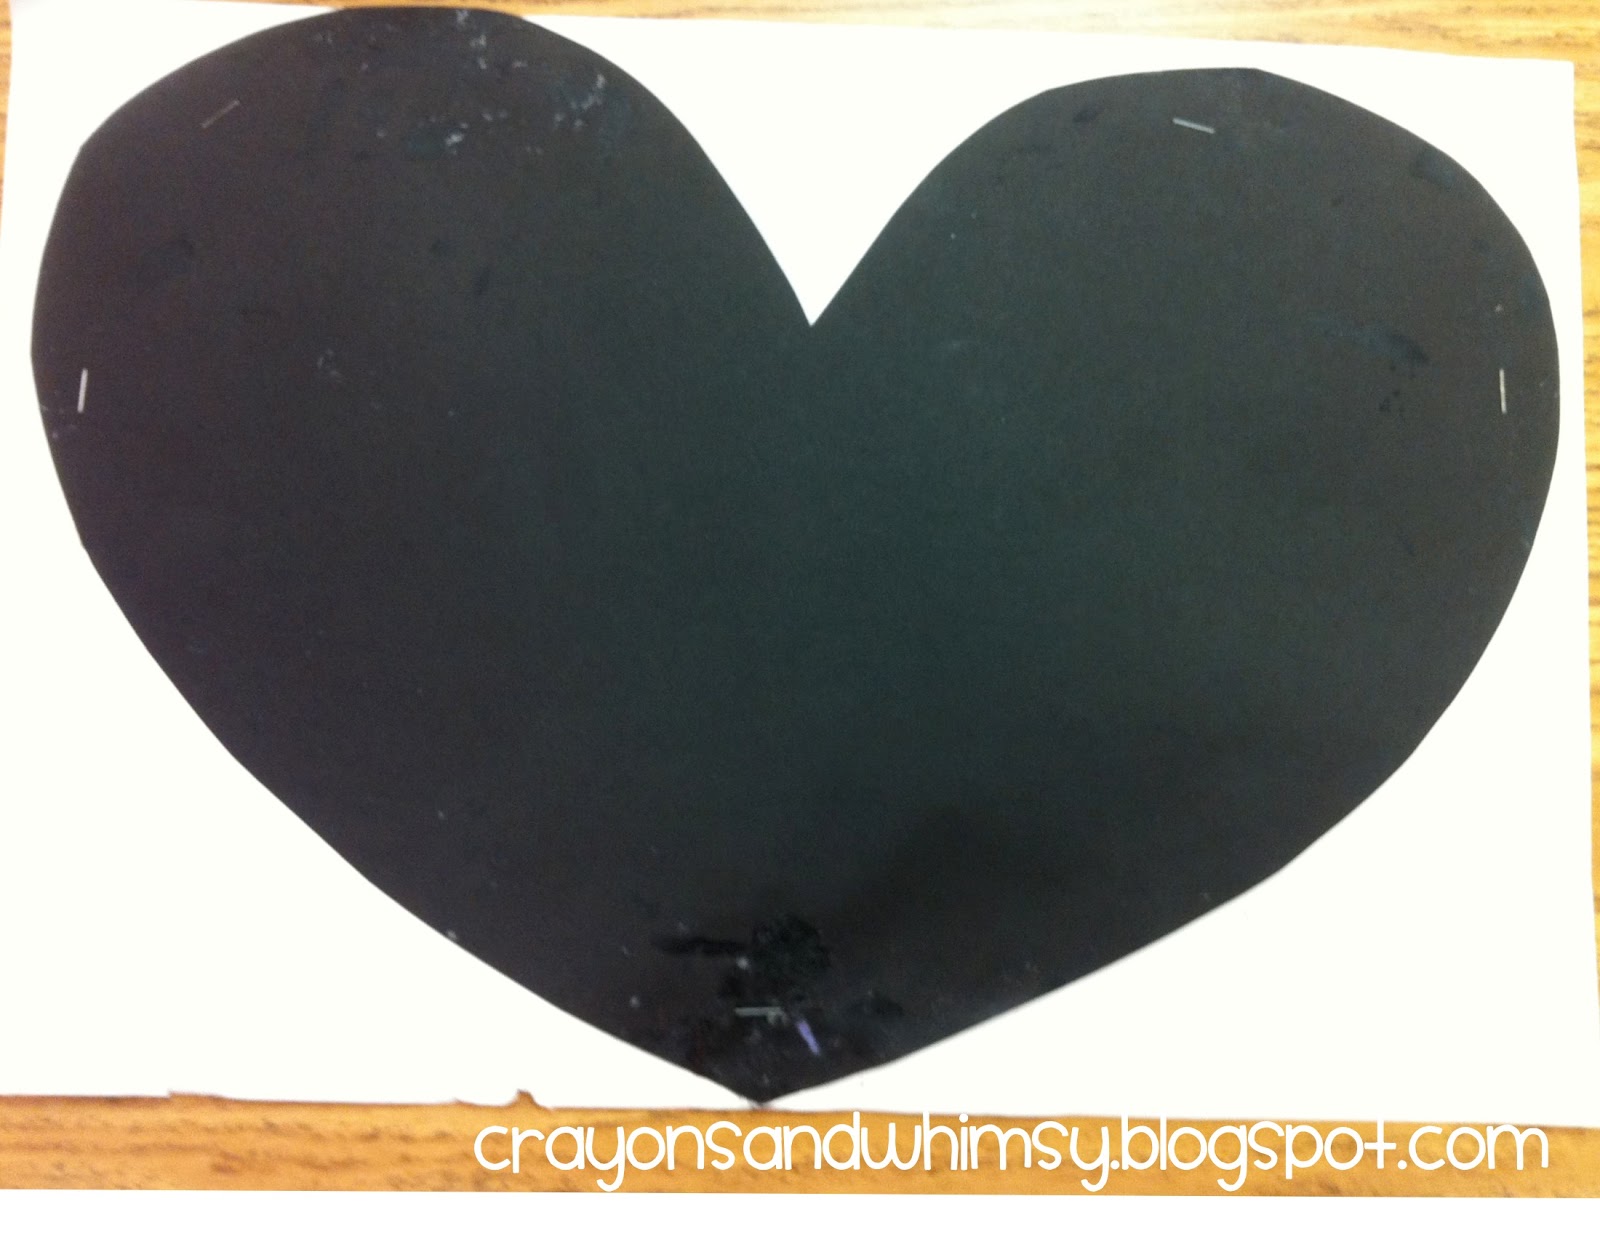

If you are not putting anything in the center you can have them free hand the heart shape.
Step 6: After the yarn dries... this takes a while, have them cut it out.

Step 7: Add whatever you like to the center. I usually have them draw and label the people who they LOVE.... it is the month of love! One year I used these as their parent cards and they wrote a note to their families in the middle.
Ta da!


Those hearts are adorable! Thanks for sharing!
ReplyDeleteSarah
Clearly Kindergarten