


Since my little ones can't make real snowmen- we make a "clay snowman." One of my students pointed out, "shouldn't they be called claymen." Wow! That is a great point!
First, we sing Heidi Butkus' song "Let's Build a Snowman." It is on her Little Songs for Language Arts CD. I love this CD! Each student makes their own book. Here is half of the song:

That is my sample in the pocket chart ...I meant to take a picture of the kids' books! If you get Heidi's CD she gives you directions to create books for every song. In an effort to be more green my class made half size (6x9inches) books (where as the sample above is 9x12inches)
We then also are in the process of making a clay snowman. I use a soft molding clay that can air dry. All clay is different so I would suggest making your sample snowman first to be sure my directions will work for you.
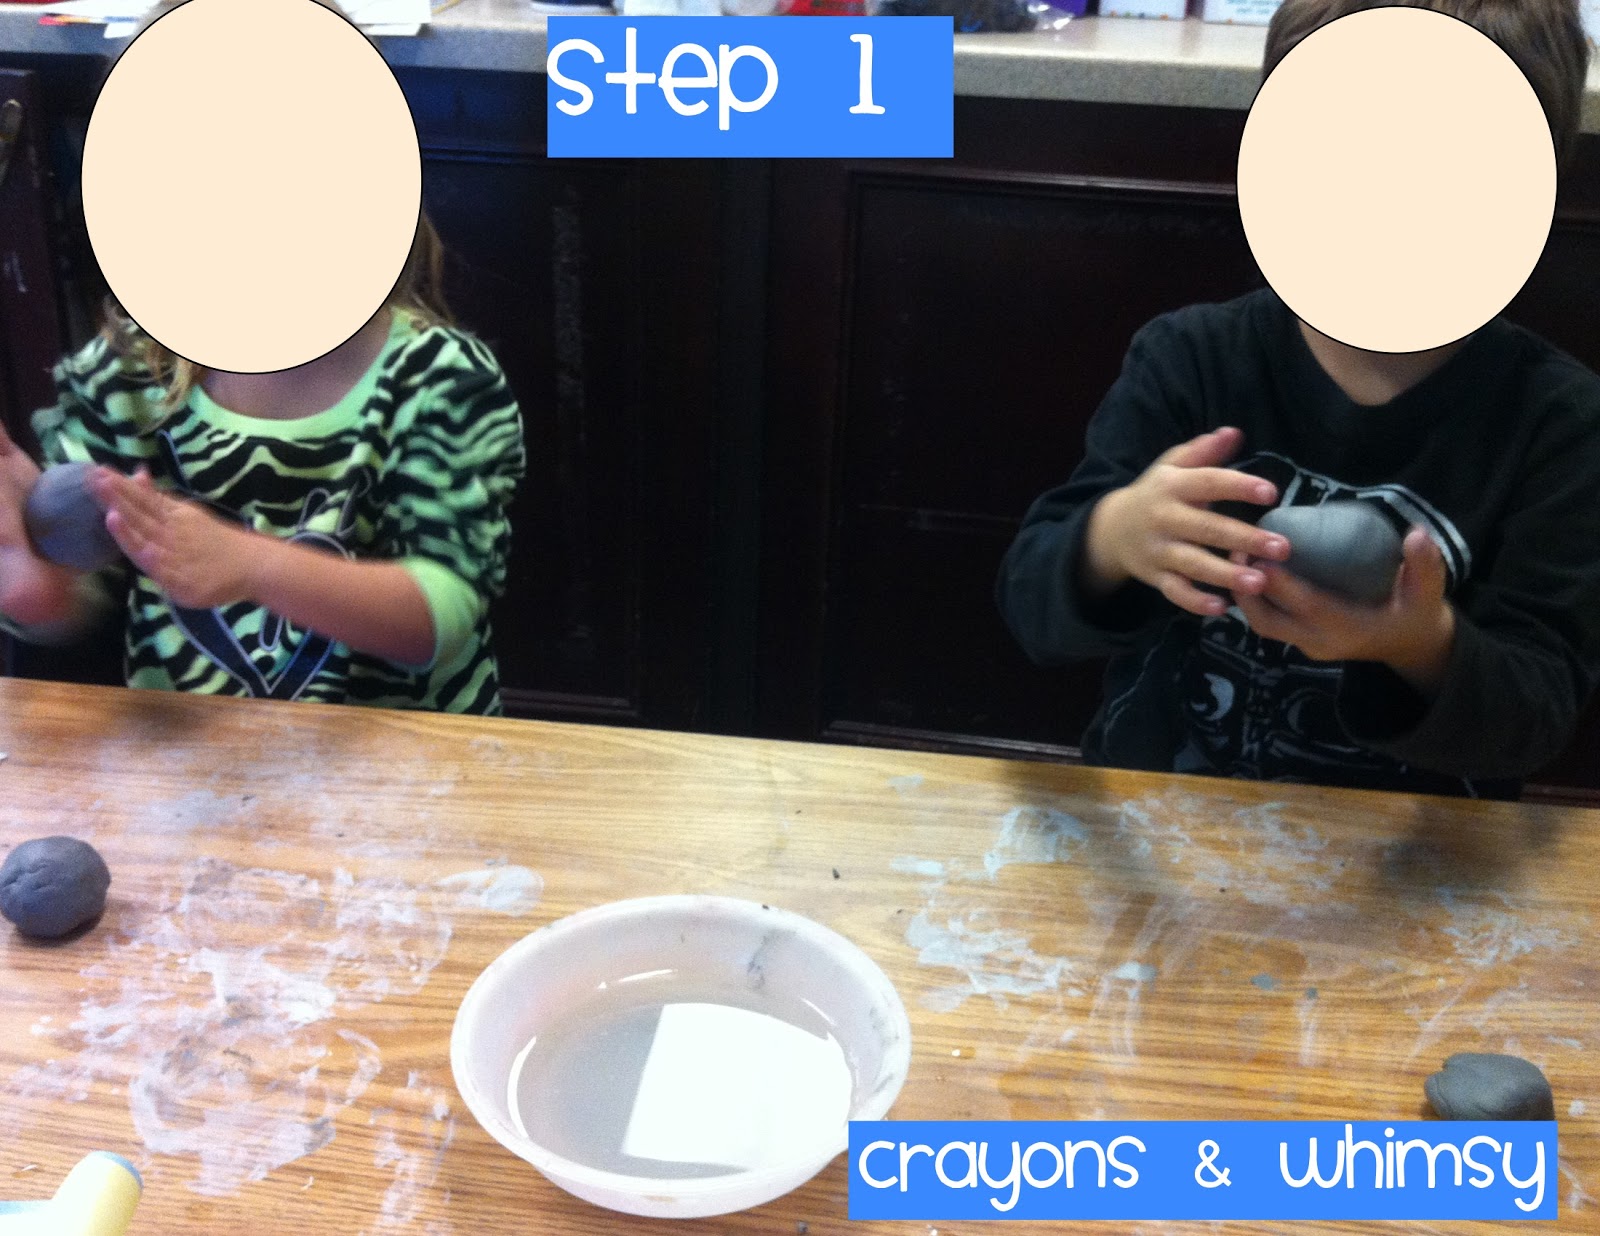
Step 1: Have the students roll 2 balls of clay.
Tip: Divide the clay into giant balls ahead of time and put in zip lock bags (if you won't be using the clay soon then wrap in a wet paper towel.) I use string to cut the clay up. The little ones get one ball to pull apart to create both the body and the head.

Step 2: This step is key!! Both the head and the body need to be scored! I did this for the kiddos this year because last year we had a few headless snowmen, which can be traumatic, but nothing a glue gun can't handle! So this year I scored them to make sure the lines were deep in the clay. Place the lines perpendicular to each other and have the kids push them together.

Step 3: Students dip their finger in water to smooth the surface. Be sure they spend quite a bit of time where the head and body connect.

Step 4: Using a pencil and/or paperclip (as you can see I don't own professional clay materials... just classroom materials!) add the name, year and also the face (for to get a pic of that!) Students can do this right away or wait a few hours for the clay to be less wet. You could even wait one full day!

Step 5: We wait and we wait! I don't use a kiln. I let the clay air dry over time. I've also read it is a bad idea to put the clay in a regular oven because A. it could let out toxic fumes and B. it could crack the clay. It works out better to leave the clay out and allow the kids to observe the slow change from wet to dry. I usually wait one week for them to be ready to paint.
We had a discussion about how the clay changes. Our science standards have us look at clay, wood, metal, paper and the characteristics of each. This year we looked at the wet and dry clay side by side:

They were so into it that I decided I should be writing this out and grabbed my chart paper...... and that explains the not-so-cute venn diagram about wet clay versus dry clay.

We also wrote out the steps it took to make the snowman. Since they were experts at the "Let's Build a Snowman" song it made this easy. Here is what we came up with:

Since there is a week long wait to paint them and finish I decided not to worry about that part in our writing. We may write again when it is all said and done!
I will post a picture of the finished product soon! Here you see them with the first coat of paint that we did today. I even have small plastic hats for a finishing touch! I can't wait!

Happy Friday!
UPDATE: We finished our snowmen! I wanted to post a picture. We added black hats and buttons. Some chose buttons and others sequins! The little ones took their clay snowmen home along with their mini book "Let's Build a Snowman!"

Oh, one last thing: The snowmen hats are 19mm x 11mm black hats. I got them {HERE}


Very sweet! What size of hat did you use???
ReplyDeleteHi Lisa, I used the 19mmx11mm sized hats.... but when I just clicked on the link I gave in the post above it says they are temporarily out of stock. I had trouble finding these hats and had checked craft stores. The good news is that you get 144 for only $3.99. Good luck!!
Delete